Log inRegister
Item Buckets (formerly known as Copy Buckets)
About
Item Buckets are used to collect item records for batch actions.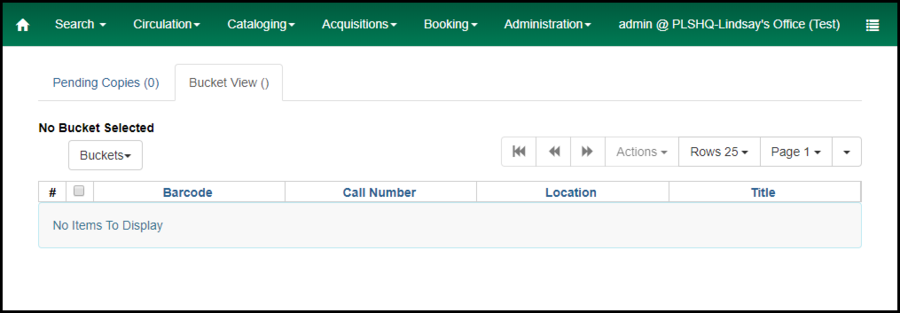
Access Item Buckets
- From the Home tab, open the Cataloging menu
- Select Item Buckets
- The Bucket View tab will display
- Select Pending Items tab or stay in the Bucket View tab
Pending Items
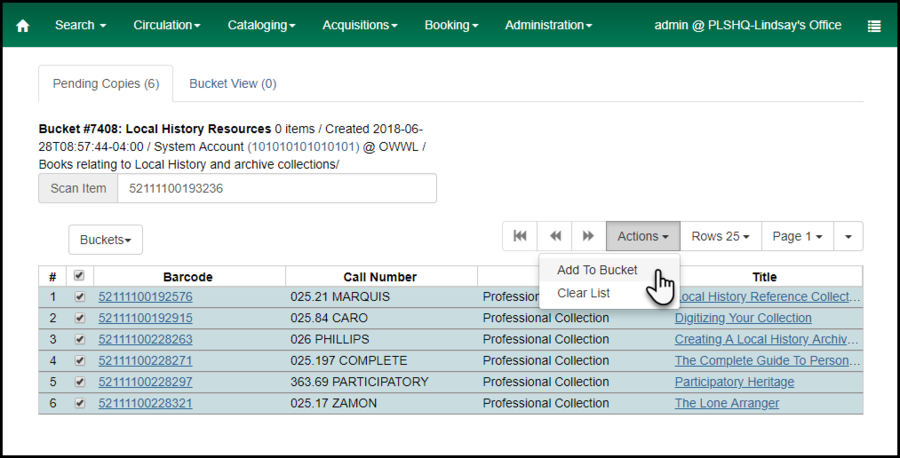
In the Pending Items tab, staff can scan item barcodes of items they want to add to a bucket.- Click the Pending Items tab
- Select an existing bucket
- If a bucket was selected in the Bucket View before switching to Pending Items, that bucket will remain selected in Pending Items
- Scan item barcodes
- Check all pending items, from the Actions menu select Add To Bucket
- Select Clear List to work with a different bucket, or switch to Bucket View to work with the items in the current bucket
Bucket View
In the Bucket View tab, staff can access their existing buckets to work with the items in the bucket, create new buckets, and manage existing buckets.Select a Bucket
- Click the "Buckets" button to open the list of bucket actions and existing buckets
- Click on the bucket to open
New Bucket
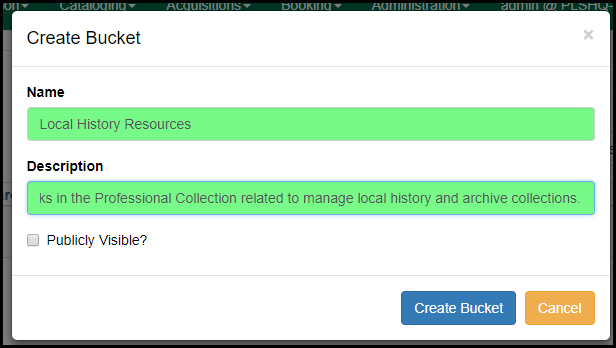 NOTE: "Shareable" (formerly "Publicly Visible") means that the bucket can be shared to other staff, even across libraries.
Edit Bucket
Change a bucket name, description, or shareability.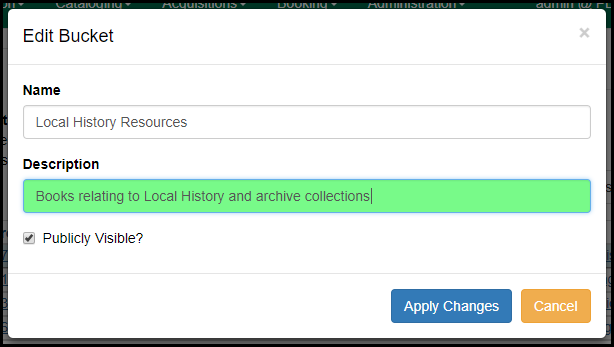
Delete Bucket
Once the bucket is no longer needed, it can be deleted.Shared Bucket
If a bucket has been marked "Shareable" (formerly "Publicly Visible") it can be retrieved by any staff person who has the bucket ID. The bucket ID can be found at the top of the screen in the URL of the bucket page or in the text right above the table. The bucket owner can share the ID with others. Because each bucket has a unique URL, you could also bookmark shared buckets in your browser. Bucket ID in URL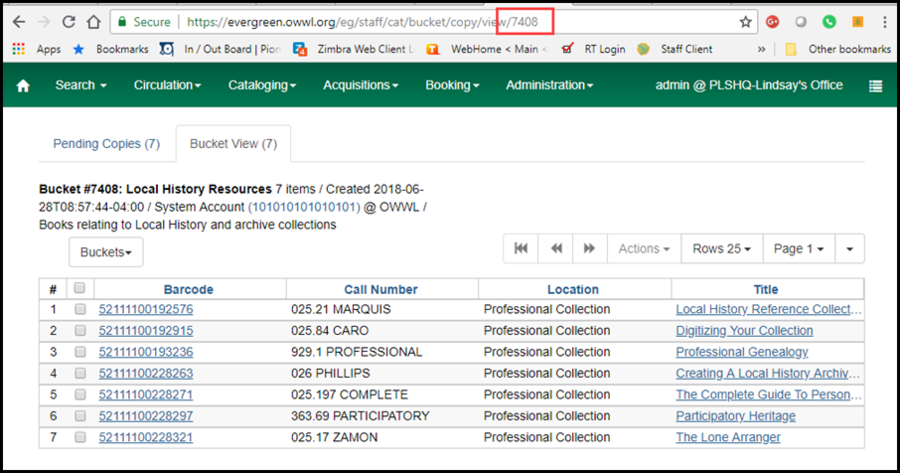 Load by bucket ID
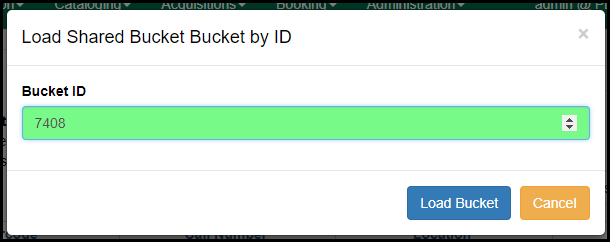
Copying buckets
Please note that you should follow this procedure with no more than 100 items at a time.- Select the existing bucket from the Buckets dropdown.
- Select the items in the existing bucket by clicking the empty checkbox in the header row of the table. Please select no more than 100 items at once. If you have more than 100 items in the bucket you are copying, you should perform these steps 100 items at a time.
- Press Actions > Open in Item Status. This will open a new "Item Status" tab with all of the items.
- Select the items in the item status screen by clicking the empty checkbox in the header row of the table.
- Press Actions > Add to Item Bucket
- Follow the instructions below to add items to an existing or new bucket.
Add Items to Bucket
The Add Item to Bucket option appears in various list views, such as Item Status.- Select the item record, click Actions
- Click the Add Item to Bucket button
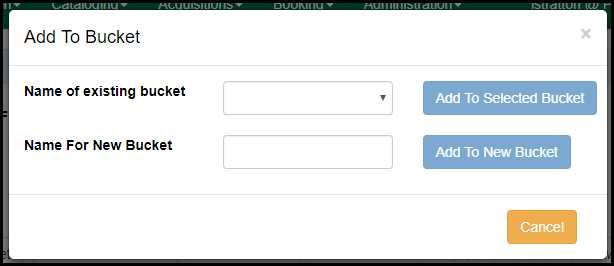
- In the Add to Bucket dialog
- Select an existing bucket and click Add to Select Bucket, or
- Enter a name for a new bucket and click Add to New Bucket
 Copyright © by the contributing authors. All material on this collaboration platform is the property of the contributing authors.
 Ideas, requests, problems regarding OWWL Docs? Send feedback
